Adjust - New User Acquisition Campaign (Classic)
Screenshots
In the following guide, there are 4 dashboard screens which require screenshots.
Please make these screenshots and provide them to Appier.
Providing accurate screenshots helps speed up and ensure the quality of your campaign onboarding process.
Enable events sending to Appier.
- Click the triangle icon below your app.

- Click the "Partner Setup"

- Press "ADD PARTNERS"

- Search "Appier" to find the Appier partner module.
- Press the "+" button on the right

Event Linking
- Click "Event Linking".

Note
Please note that the setting is for iOS, please be aware of the OS tab.
- Click "FILL ALL WITH EVENT NAMES"
- Click OK

Note
We strongly recommend using only letters (A-Z, a-z), numbers (0-9), symbols (!@#$%^&*()-_+=), and spaces in the event names.
Screenshot 1 of 4
Please make a screenshot of the Event Linking page, as shown above.
- Set as the Screen Shot shows and click SAVE.

Note
Attributed Only OFF
-> send all traffic data to Appier for optimization
Screenshot 2 of 4
Please make a screenshot of the Partner Settings page, as shown above.
Create a tracking link
- Go back to app dashboard and click "Tracker URLs"

- Click "NEW TRACKER"

- Name your Tracker start with appier_+campaign name (suggest)
- Please select "appier" as NETWORKS.
- Click "CUSTOMIZE" to continue setting.

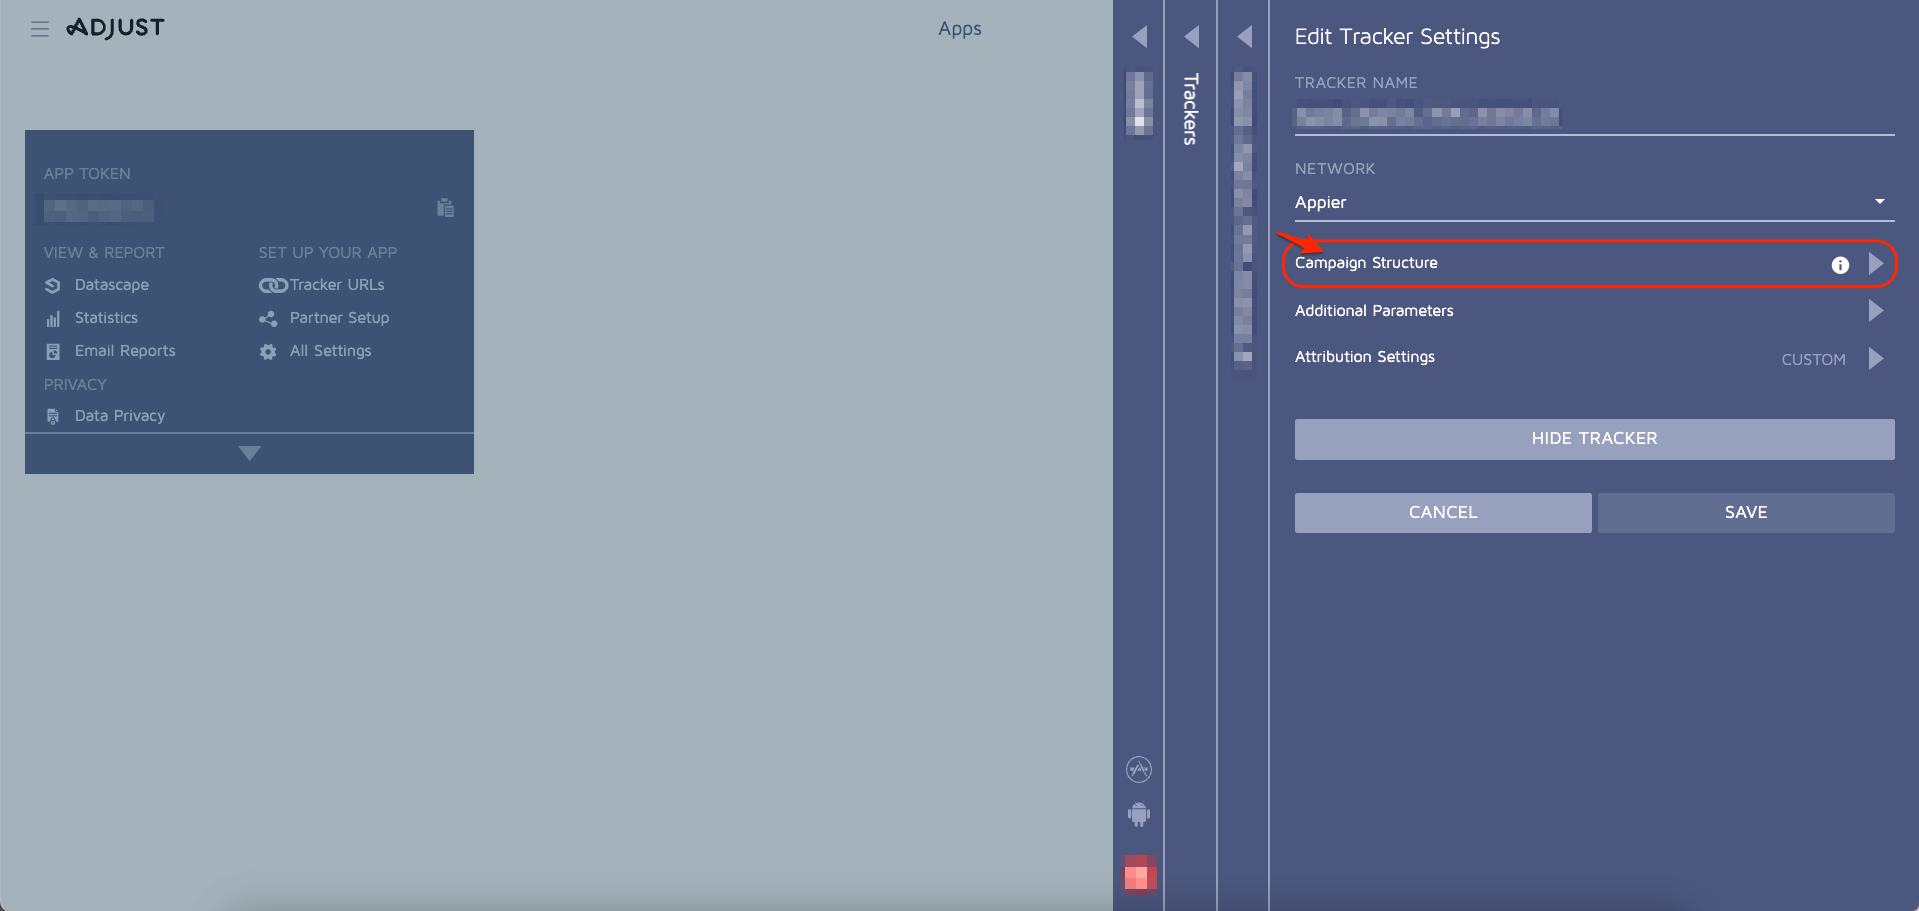
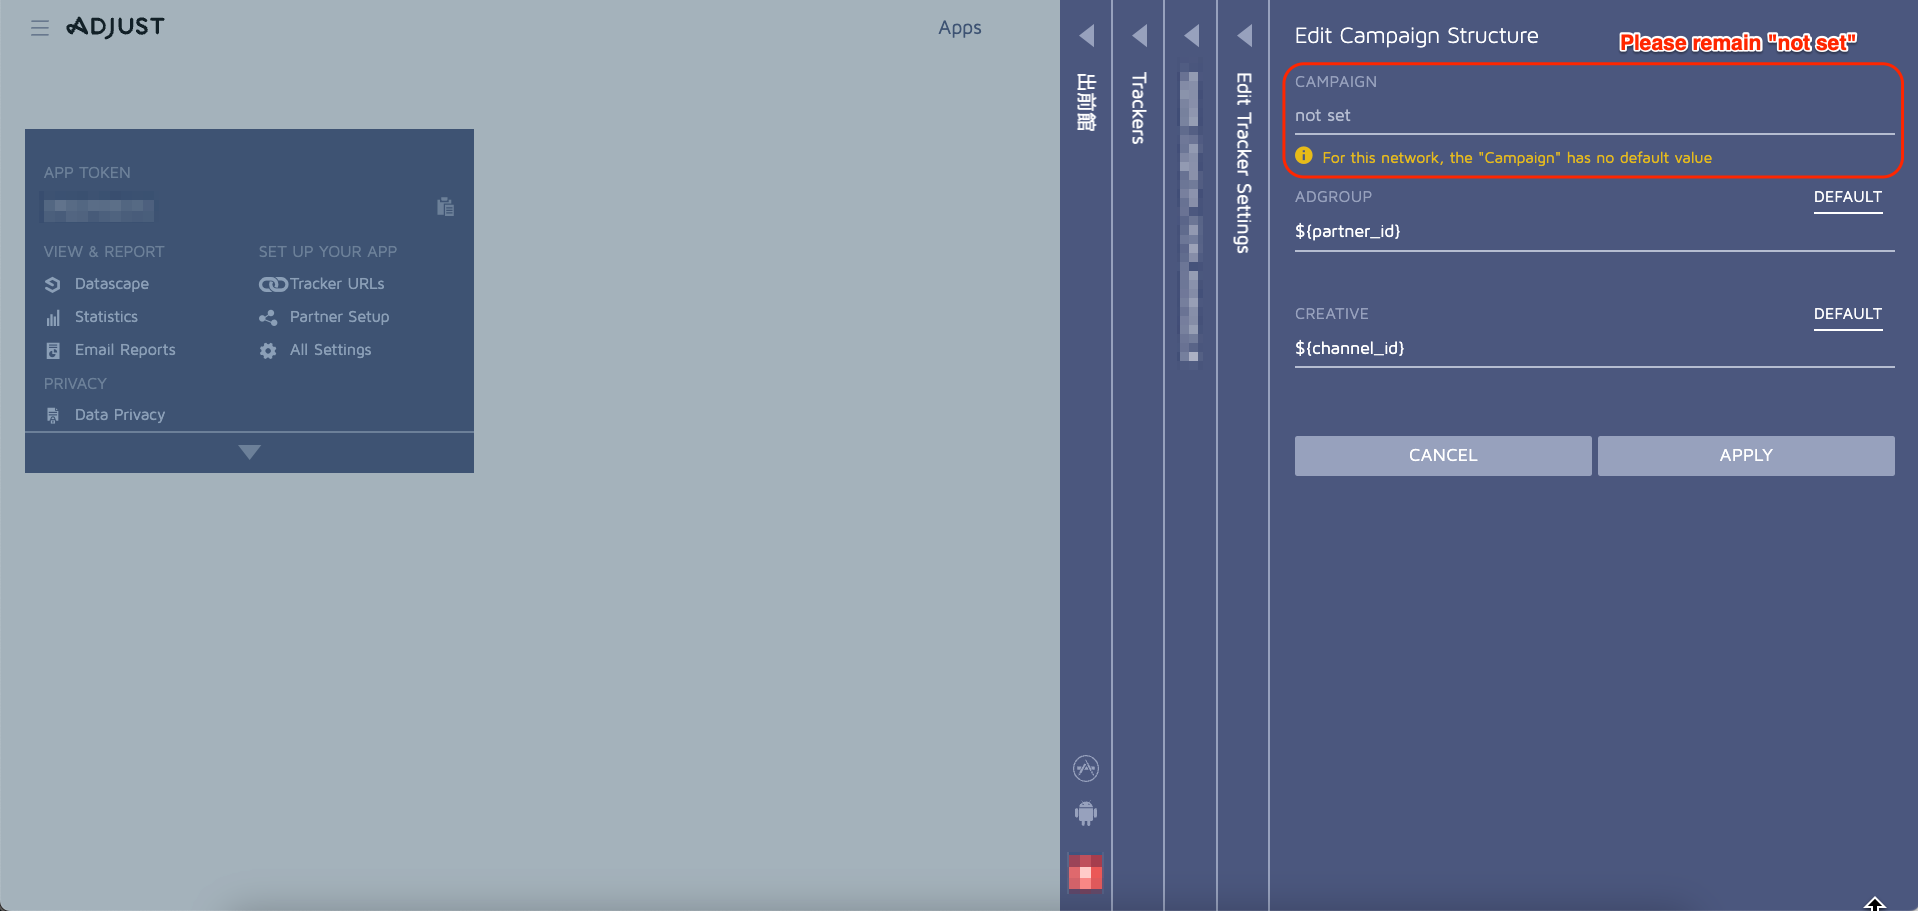
Attribution Setting (Tracker Level)
- Click "Attribution Settings".

Please remain campaign name as "not set" (default).
- Turn ON Probabilistic matching
- Set Attribution Window to 24 HOURS.

Screenshot 3 of 4
Please make a screenshot showing the Click-based Attribution Settings, as shown above.
Scroll down to set impression-based Attribution.
- Turn ON Device matching and Probabilistic matching.
- Set Attribution Window to 24 HOURS.
- Click APPLY.

Screenshot 4 of 4
Please make a screenshot showing the Impression-based Attribution Settings, as shown above.
- Click CREATE.

- Click the Copy Button to copy the CLICK URL/IMPRESSION URL for Appier.
Note
For new user campaigns, please generate the standard Adjust links as described in this guide. Standard links use the URL domains
app.adjust.comfor click URLs andview.adjust.comfor impression URLs. Please do not generate universal links for the campaign, but if your campaign requires universal links, please describe your goals to Appier.

- And then click "DONE".

Grant Appier permission to inspect settings.
- Click MENU.

- Click My Account.

- Click Users tab.

- Click +ADD USER.

- Enter EMAIL: [email protected]
(For Korea Clients) [email protected]
(For GCR Clients) [email protected] - Select ROLE: CUSTOM
- Click App Access.

- Select each app you want to run with Appier.

- Please select EDITOR as the ACCESS role for Appier. In order to provide the best onboarding and troubleshooting service possible, Appier asks for the EDITOR access. However, if this level cannot be granted, then please select READER as the access level.
- Click APPLY.

- Click APPLY.

Updated about 1 year ago